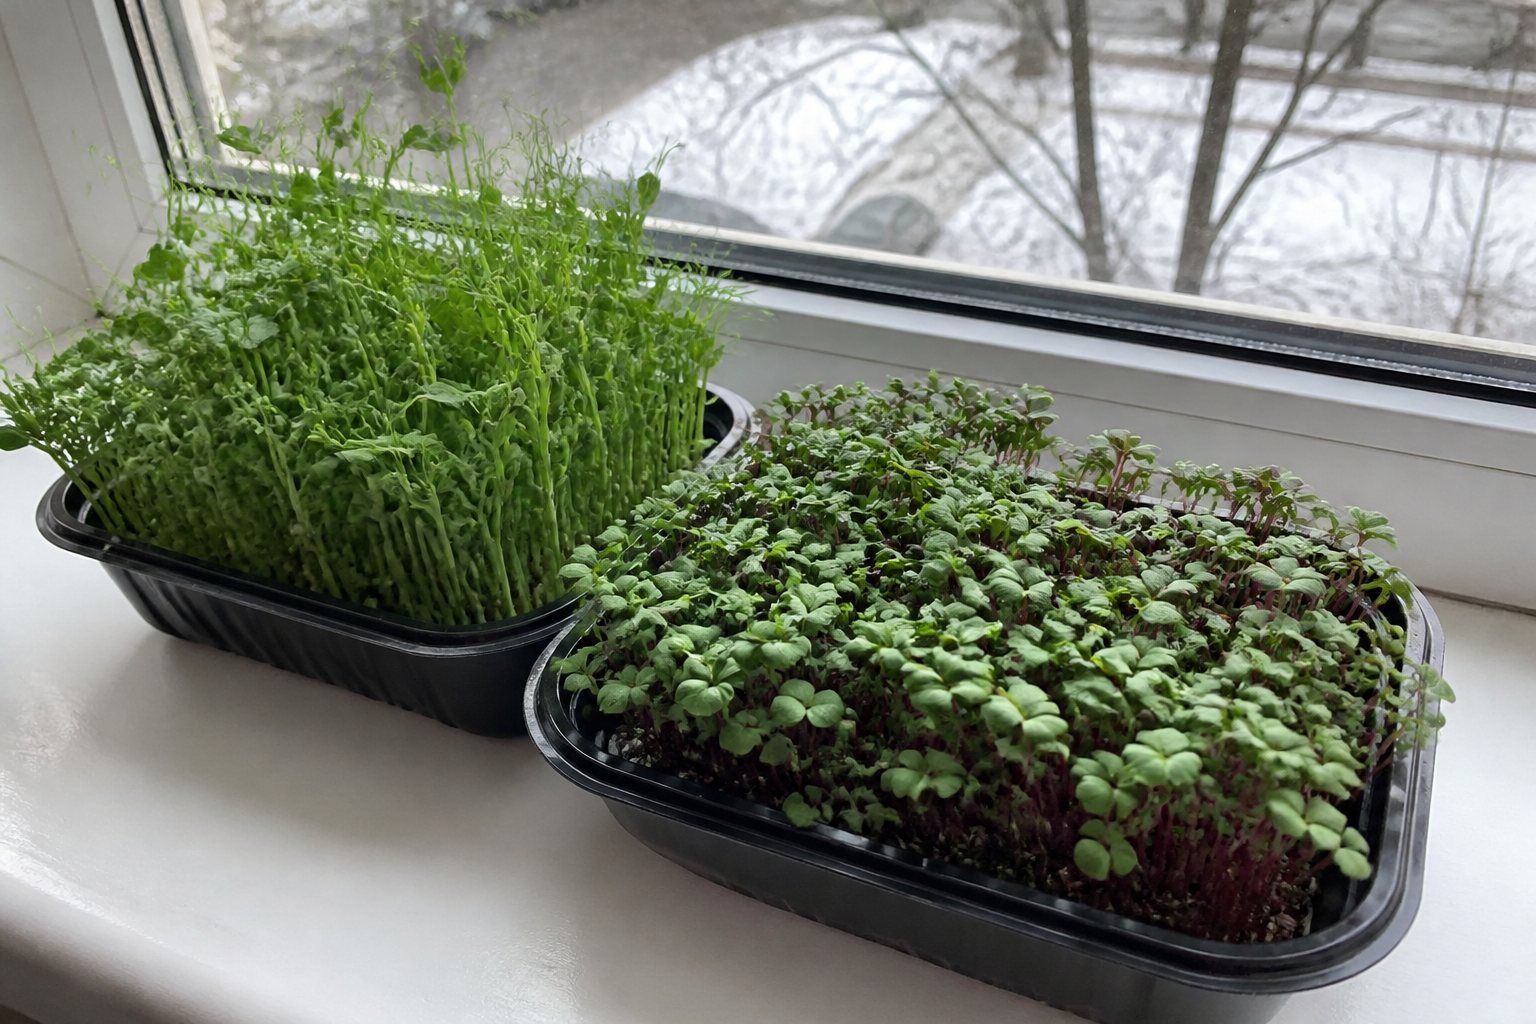

In November the vegetable patch is finished and supermarket salad tastes of very little. Microgreens fill the gap: a tray of pea shoots or radish on the windowsill is ready to cut in one to two weeks, needs no garden and costs a few pence per portion.
They are not a fad food so much as an old gardener’s trick made easier. The seeds you already know from the allotment are sown densely, grown for a few days in the warm and cut young, when flavour is concentrated in a few centimetres of stem and leaf.
Below we explain how they differ from sprouts, which seeds work best, what you need, how to sow step by step and how to keep the tray clean and safe.
To grow microgreens, soak large seeds such as peas and sunflower for 8 to 12 hours, sow any seed densely on 2 to 3 cm of moist compost, keep it covered and dark for 2 to 3 days, then move it to a bright window. Water from below and cut with clean scissors after 7 to 14 days, when the seed leaves open and the first true leaves appear.
What are microgreens and how are they different from sprouts?
Microgreens are young vegetable and herb seedlings grown in compost or on a growing mat and cut just above the surface. You eat the stem and leaves, not the seed or the root. Most are ready between 7 and 14 days after sowing.
Sprouts are germinated in a jar of water and eaten whole after two to five days, root and seed included. Because they sit warm and wet the whole time, they carry a higher food safety risk. Microgreens grow in light, develop green leaves and taste more like the grown vegetable.
Which seeds are best for microgreens?
For a first tray choose seeds that germinate quickly and evenly. These six are reliable on a British windowsill in winter:
- Pea: sweet, crunchy shoots that taste of fresh peas. Soak first. Often regrows once after the first cut.
- Radish: peppery, very quick, ready in about a week. Purple varieties add colour.
- Sunflower: nutty and juicy. Use black oil sunflower seed in the shell and soak it.
- Mustard: hot and sharp, good with eggs and cheese. Sow dry.
- Cress: the classic of school windowsills. Sow dry, as the seed turns jelly-like when wet.
- Broccoli: mild, slightly cabbagey, and very pretty on a plate. Slower to start than radish.
What do you need to grow microgreens at home?
- Two shallow trays 3 to 5 cm deep: one with drainage holes and one without to stand it in.
- Fine seed compost, coir or a hemp or jute growing mat.
- A spray bottle for misting the seeds in the first days.
- A cover for the dark phase: an upturned tray, a board or a plate.
- A bright windowsill or, in a dark flat, a small LED grow light on a timer.
- Sharp, clean scissors for harvesting.
How to grow microgreens step by step
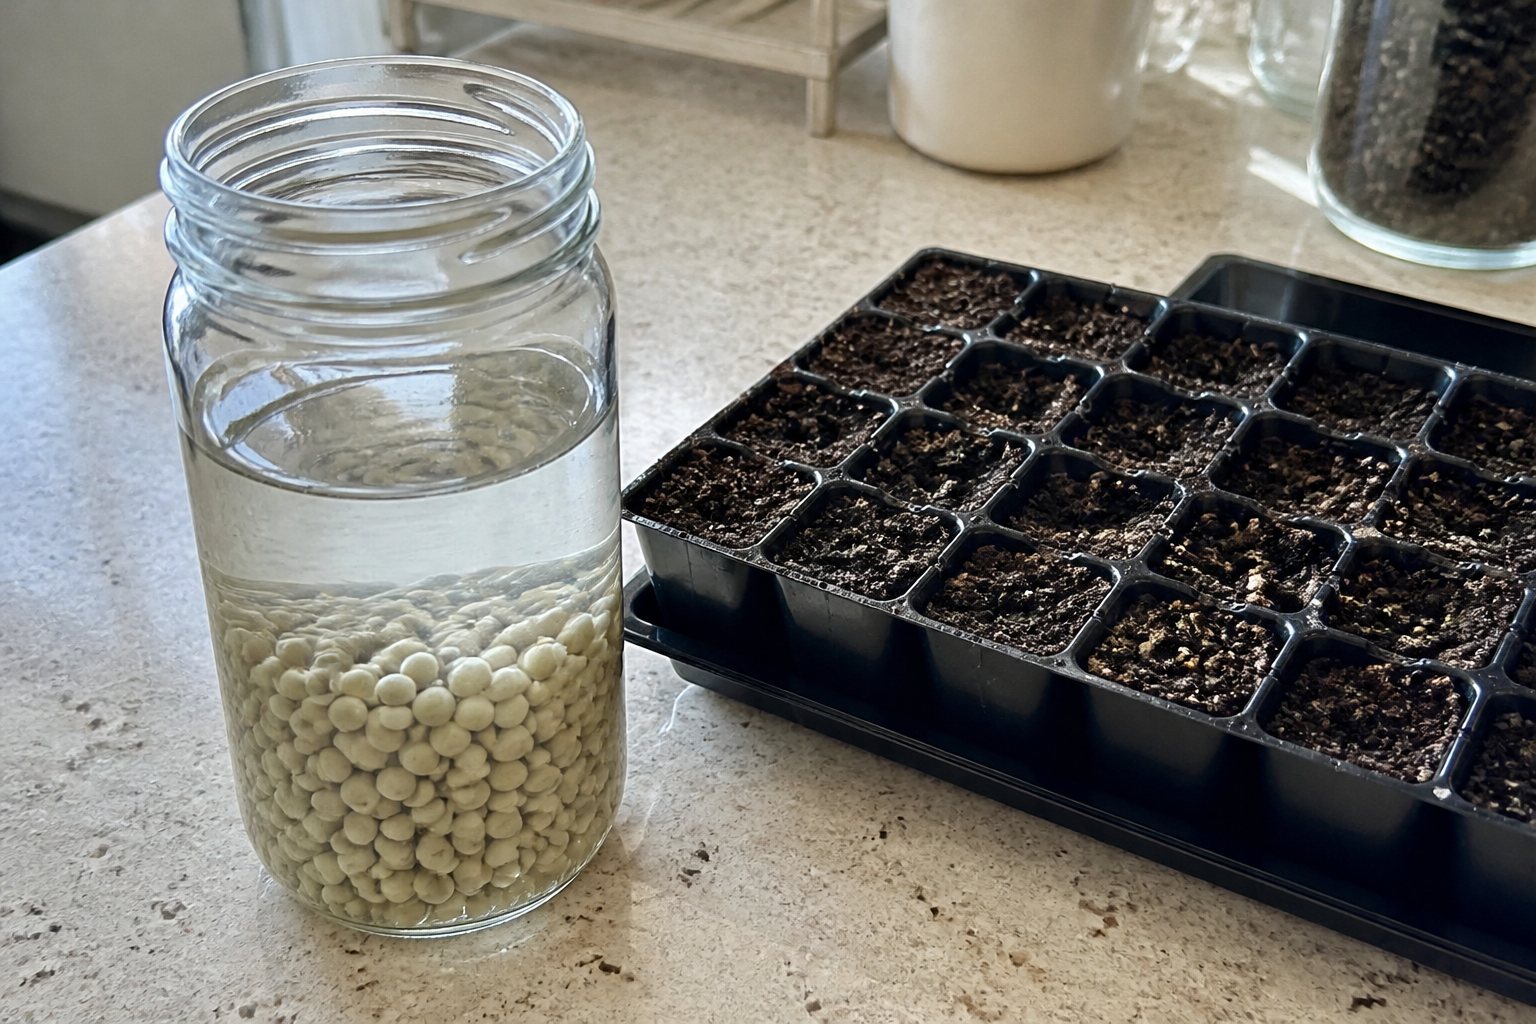
- Soak large seeds. Peas and sunflower go into cold water for 8 to 12 hours. Radish and broccoli can have a short soak of a few hours or none. Mustard and cress are sown dry.
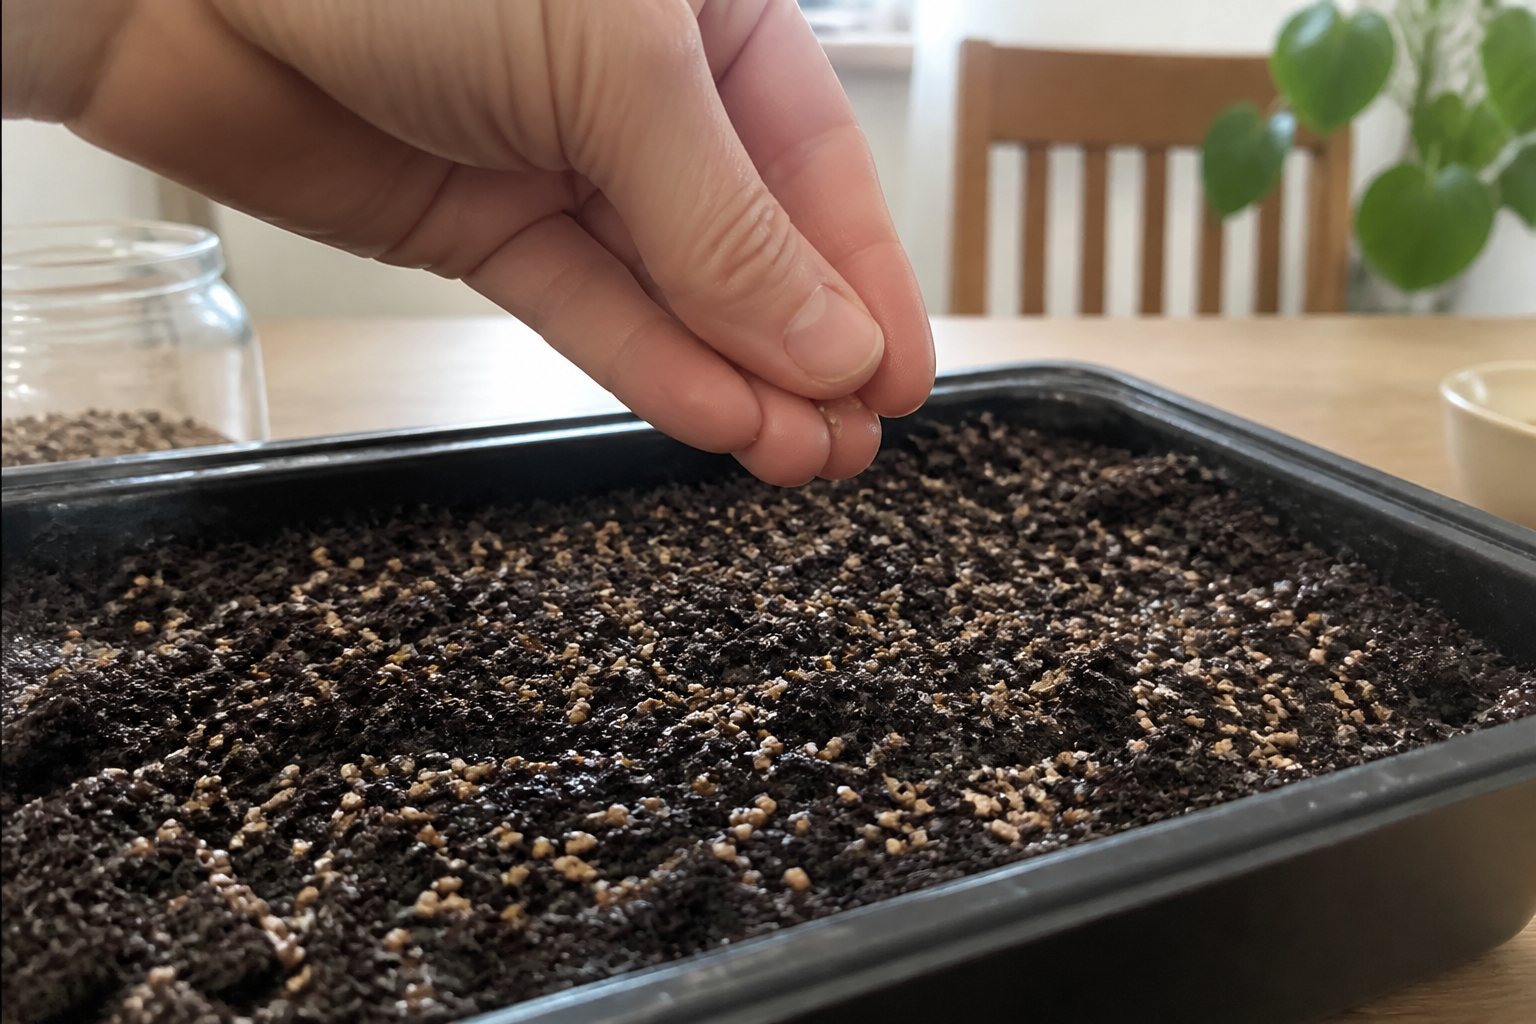
- Prepare the tray. Fill it with 2 to 3 cm of moist compost and press it level with your hand or a small board.
- Sow densely. Scatter the seed so it covers the surface in a single layer, seeds touching but not piled. Do not cover them with compost.
- Mist and cover. Spray the seeds, put a cover on top and keep the tray at 18 to 22 °C. Peas and sunflower benefit from a light weight on the cover, which helps the roots anchor.
- Keep dark for 2 to 3 days. Check daily and mist if the surface dries. Uncover once shoots are 2 to 4 cm tall and lift the lid by themselves.
- Move to the light. Put the tray in the brightest window. The pale yellow shoots turn green within a day.
- Water from below. Pour water into the lower tray and let the compost soak it up for 10 to 15 minutes, then tip away the rest. Leaves stay dry, which reduces the risk of mould.
How much light do microgreens need in winter?
From November to February a south or west facing window is best. Turn the tray every day or two, otherwise the shoots lean towards the glass. Long, pale and floppy stems mean too little light.
In a north facing flat a small LED grow light switched on for 12 to 16 hours a day makes a clear difference. Cold glass is another risk: on frosty nights move the tray off the sill or slip a piece of cardboard behind it.
When and how to harvest
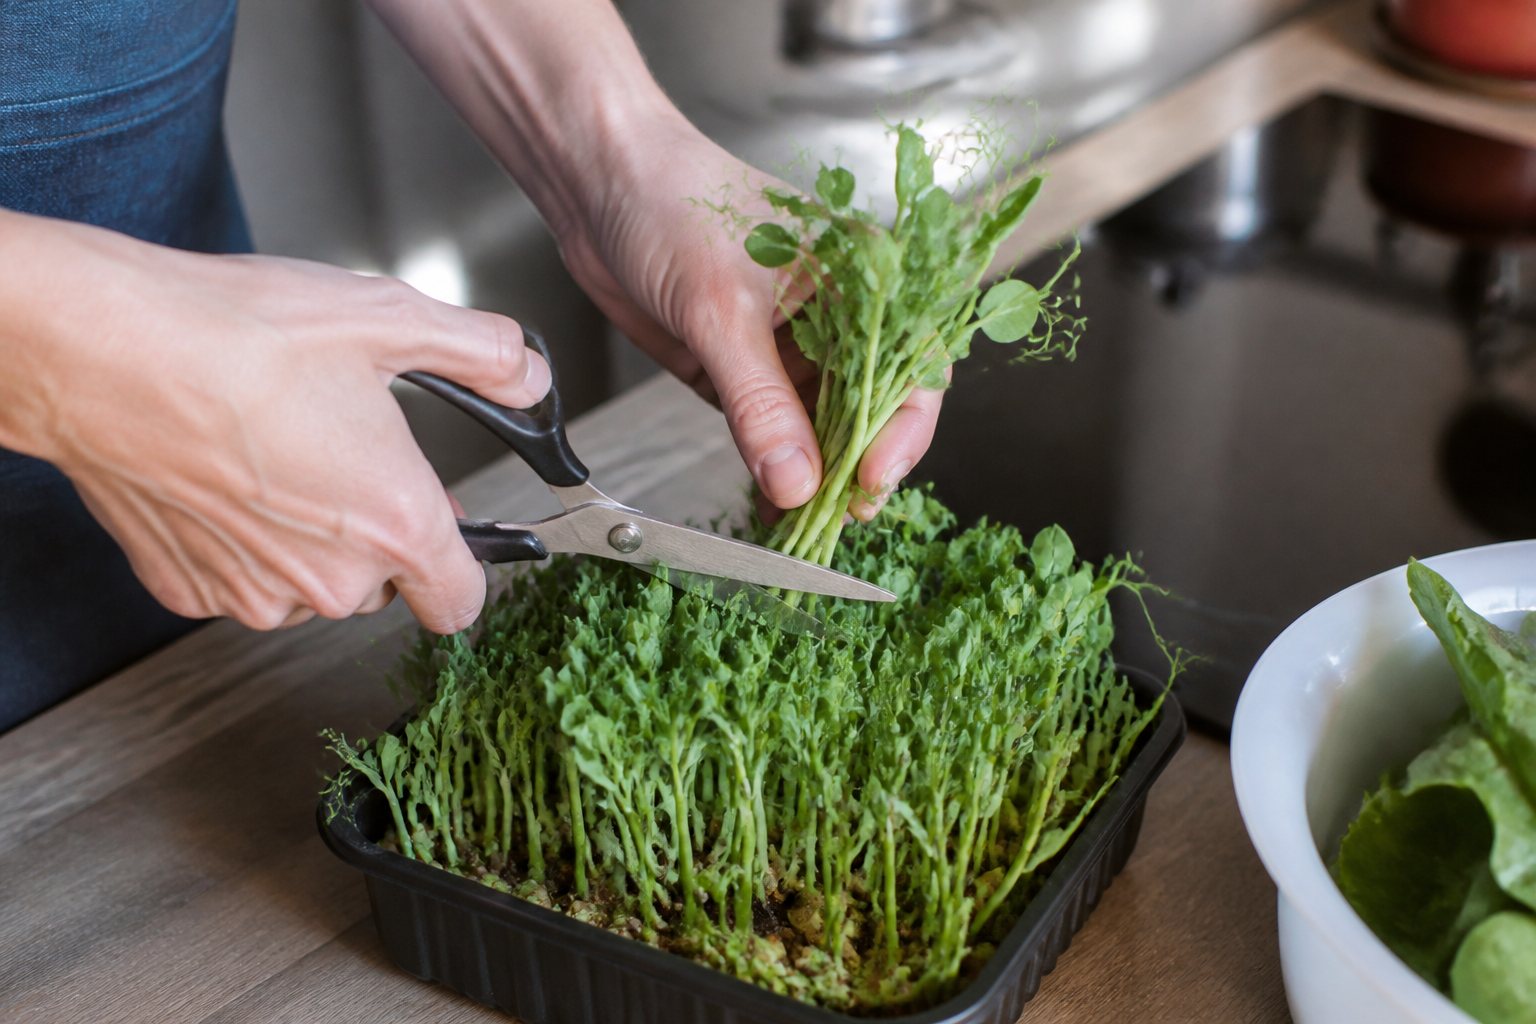
Most microgreens are ready between 7 and 14 days, when the seed leaves have opened and the first true leaves start to show. Radish and cress are the quickest, peas take the longest. Cut sunflower before true leaves appear, as they turn bitter.
Cut with clean scissors about 1 cm above the compost and only as much as you need. Stop watering the day before a large harvest so the leaves are dry and keep better.
Is it mould or root hairs?
Two or three days after sowing, many beginners spot white fuzz and throw the tray away. Usually these are root hairs: fine, even, white bristles on the roots themselves, most visible on radish and broccoli. Mist them and they collapse and almost disappear.
Mould looks like a grey or white cobweb that spreads over seeds and stems, grows from one spot outwards and smells musty. If you see it, discard the tray and next time sow less thickly.
How much do microgreens yield and what do they cost?
The figures are approximate for a standard 25 × 50 cm tray. A smaller household tray needs proportionally less seed.
| Seed | Soak | Seed per tray | Harvest | Yield | Seed cost |
|---|---|---|---|---|---|
| Pea | 8–12 h | 200–250 g | 10–14 days | 250–350 g | about £1 |
| Sunflower | 8–12 h | 120–150 g | 8–12 days | 250–350 g | about £1 |
| Radish | 0–6 h | 25–30 g | 7–10 days | 200–300 g | about 40p |
| Mustard | no | 15–20 g | 8–12 days | 150–200 g | about 25p |
| Cress | no | 15–20 g | 7–10 days | 150–200 g | about 25p |
| Broccoli | 0–6 h | 15–20 g | 9–12 days | 150–250 g | about 70p |
A small supermarket punnet of microgreens usually holds 30 to 50 g. Even with compost included, a home tray costs a fraction of that per portion.
Are microgreens safe to eat?
Microgreens are eaten raw, so a few simple rules apply:
- Use only seeds sold for sprouting or microgreens, never treated garden seed.
- Wash trays in hot soapy water before each sowing and use fresh compost every time.
- Do not leave water standing in the lower tray, and wash your hands before handling the shoots.
- Rinse before eating if you like, dry on kitchen paper and keep cut microgreens in the fridge for 3 to 5 days.
- Discard anything that smells sour or shows mould. Pregnant women, young children and people with weakened immunity should follow national advice on raw sprouted seeds.
How to use microgreens in the kitchen
Add them at the end, raw, so they keep their crunch and colour. Pea shoots go well on toast with avocado or soft cheese, radish and mustard lift scrambled eggs and sandwiches, and sunflower shoots work in winter salads with apple and walnuts.
Put a handful on soup only once it is in the bowl.

If you would rather have herbs that keep regrowing for months, our guide to a balcony herb garden covers the common mistakes.
What to grow after microgreens in spring?
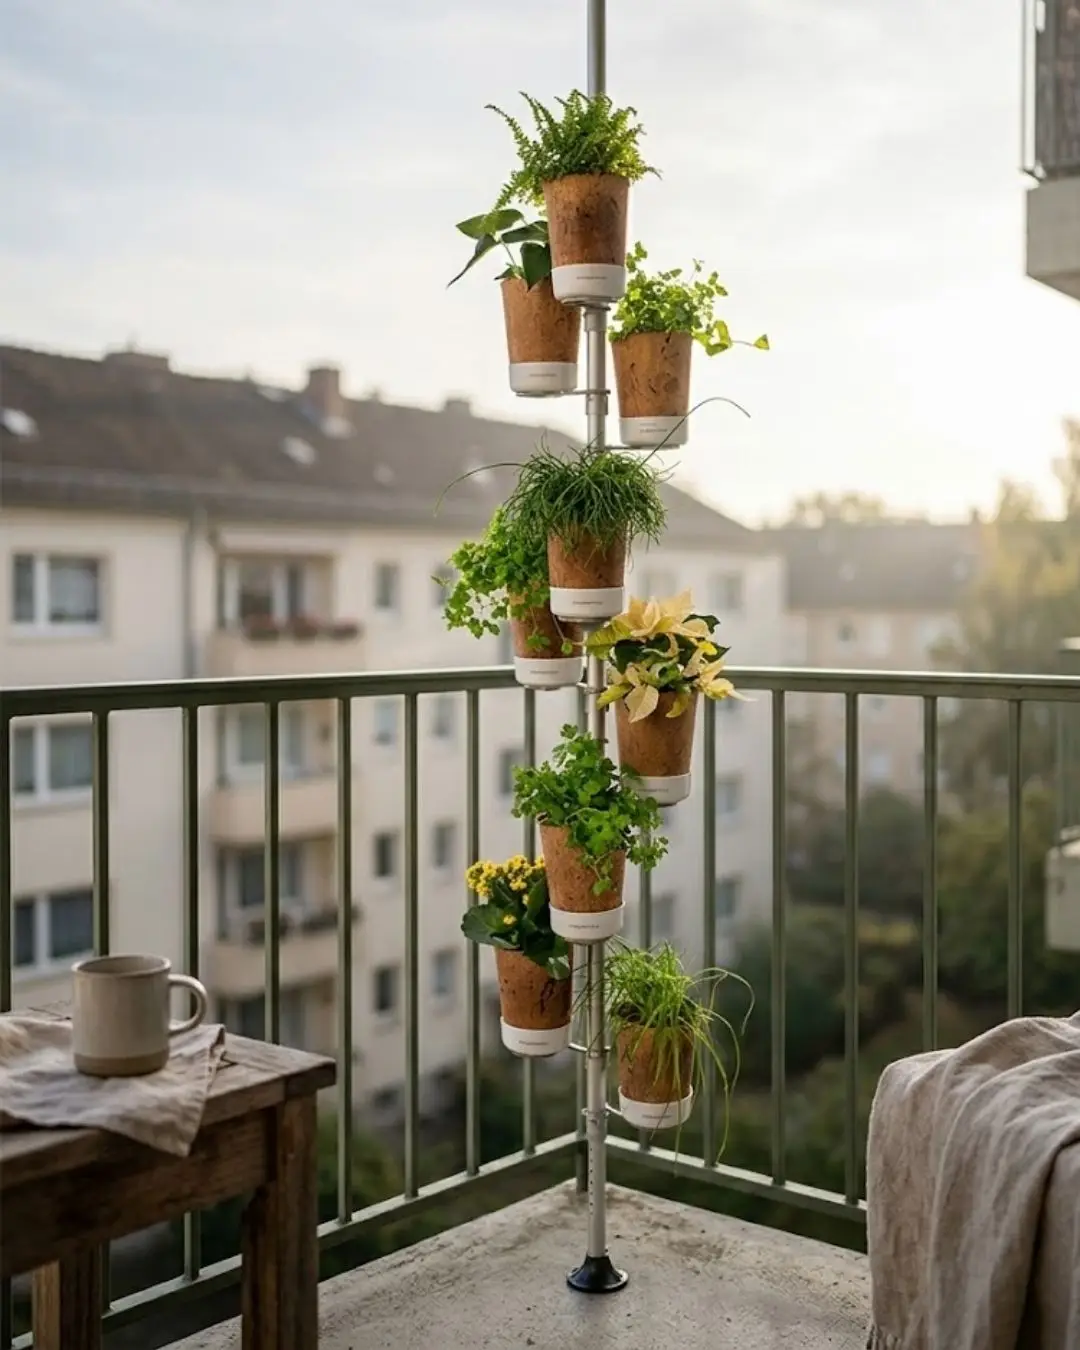
When the days lengthen, the same habit carries over to herbs and salad. A vertical garden without drilling fits by a window or on the balcony and holds nine plants on less than 1 m² of floor. The Urban Planty vertical garden has a 300 ml reservoir in each pot and costs €149 with free shipping.
Frequently asked questions
How long do microgreens take to grow?
Most microgreens are ready to cut 7 to 14 days after sowing. Radish and cress take about a week, while pea shoots usually need 10 to 14 days.
What is the difference between microgreens and sprouts?
Microgreens grow in compost or on a mat in the light and only the stem and leaves are cut and eaten. Sprouts grow in water in a jar and are eaten whole, seed and root included, after 2 to 5 days.
Can I use ordinary garden seeds for microgreens?
It is better not to. Garden seed may be treated with fungicide; for microgreens use untreated seed sold for sprouting or microgreens.
Is the white fuzz on my microgreens mould?
Usually not. Even white hairs on the roots of radish or broccoli microgreens are root hairs and disappear when misted, while mould is a grey cobweb that spreads and smells musty.
Do microgreens need a grow light in winter?
Microgreens grow well in a bright south or west facing window. In a dark, north facing room a small LED grow light on for 12 to 16 hours a day gives sturdier, greener shoots.